Introduction
When you want to analyze data stored in MongoDB, you can use MongoDB's powerful aggregation framework to do so. Today, we'll walk through a high-level overview of the aggregation framework and how to use it.
Table of contents
Run aggregations in the Atlas aggregation pipeline builder
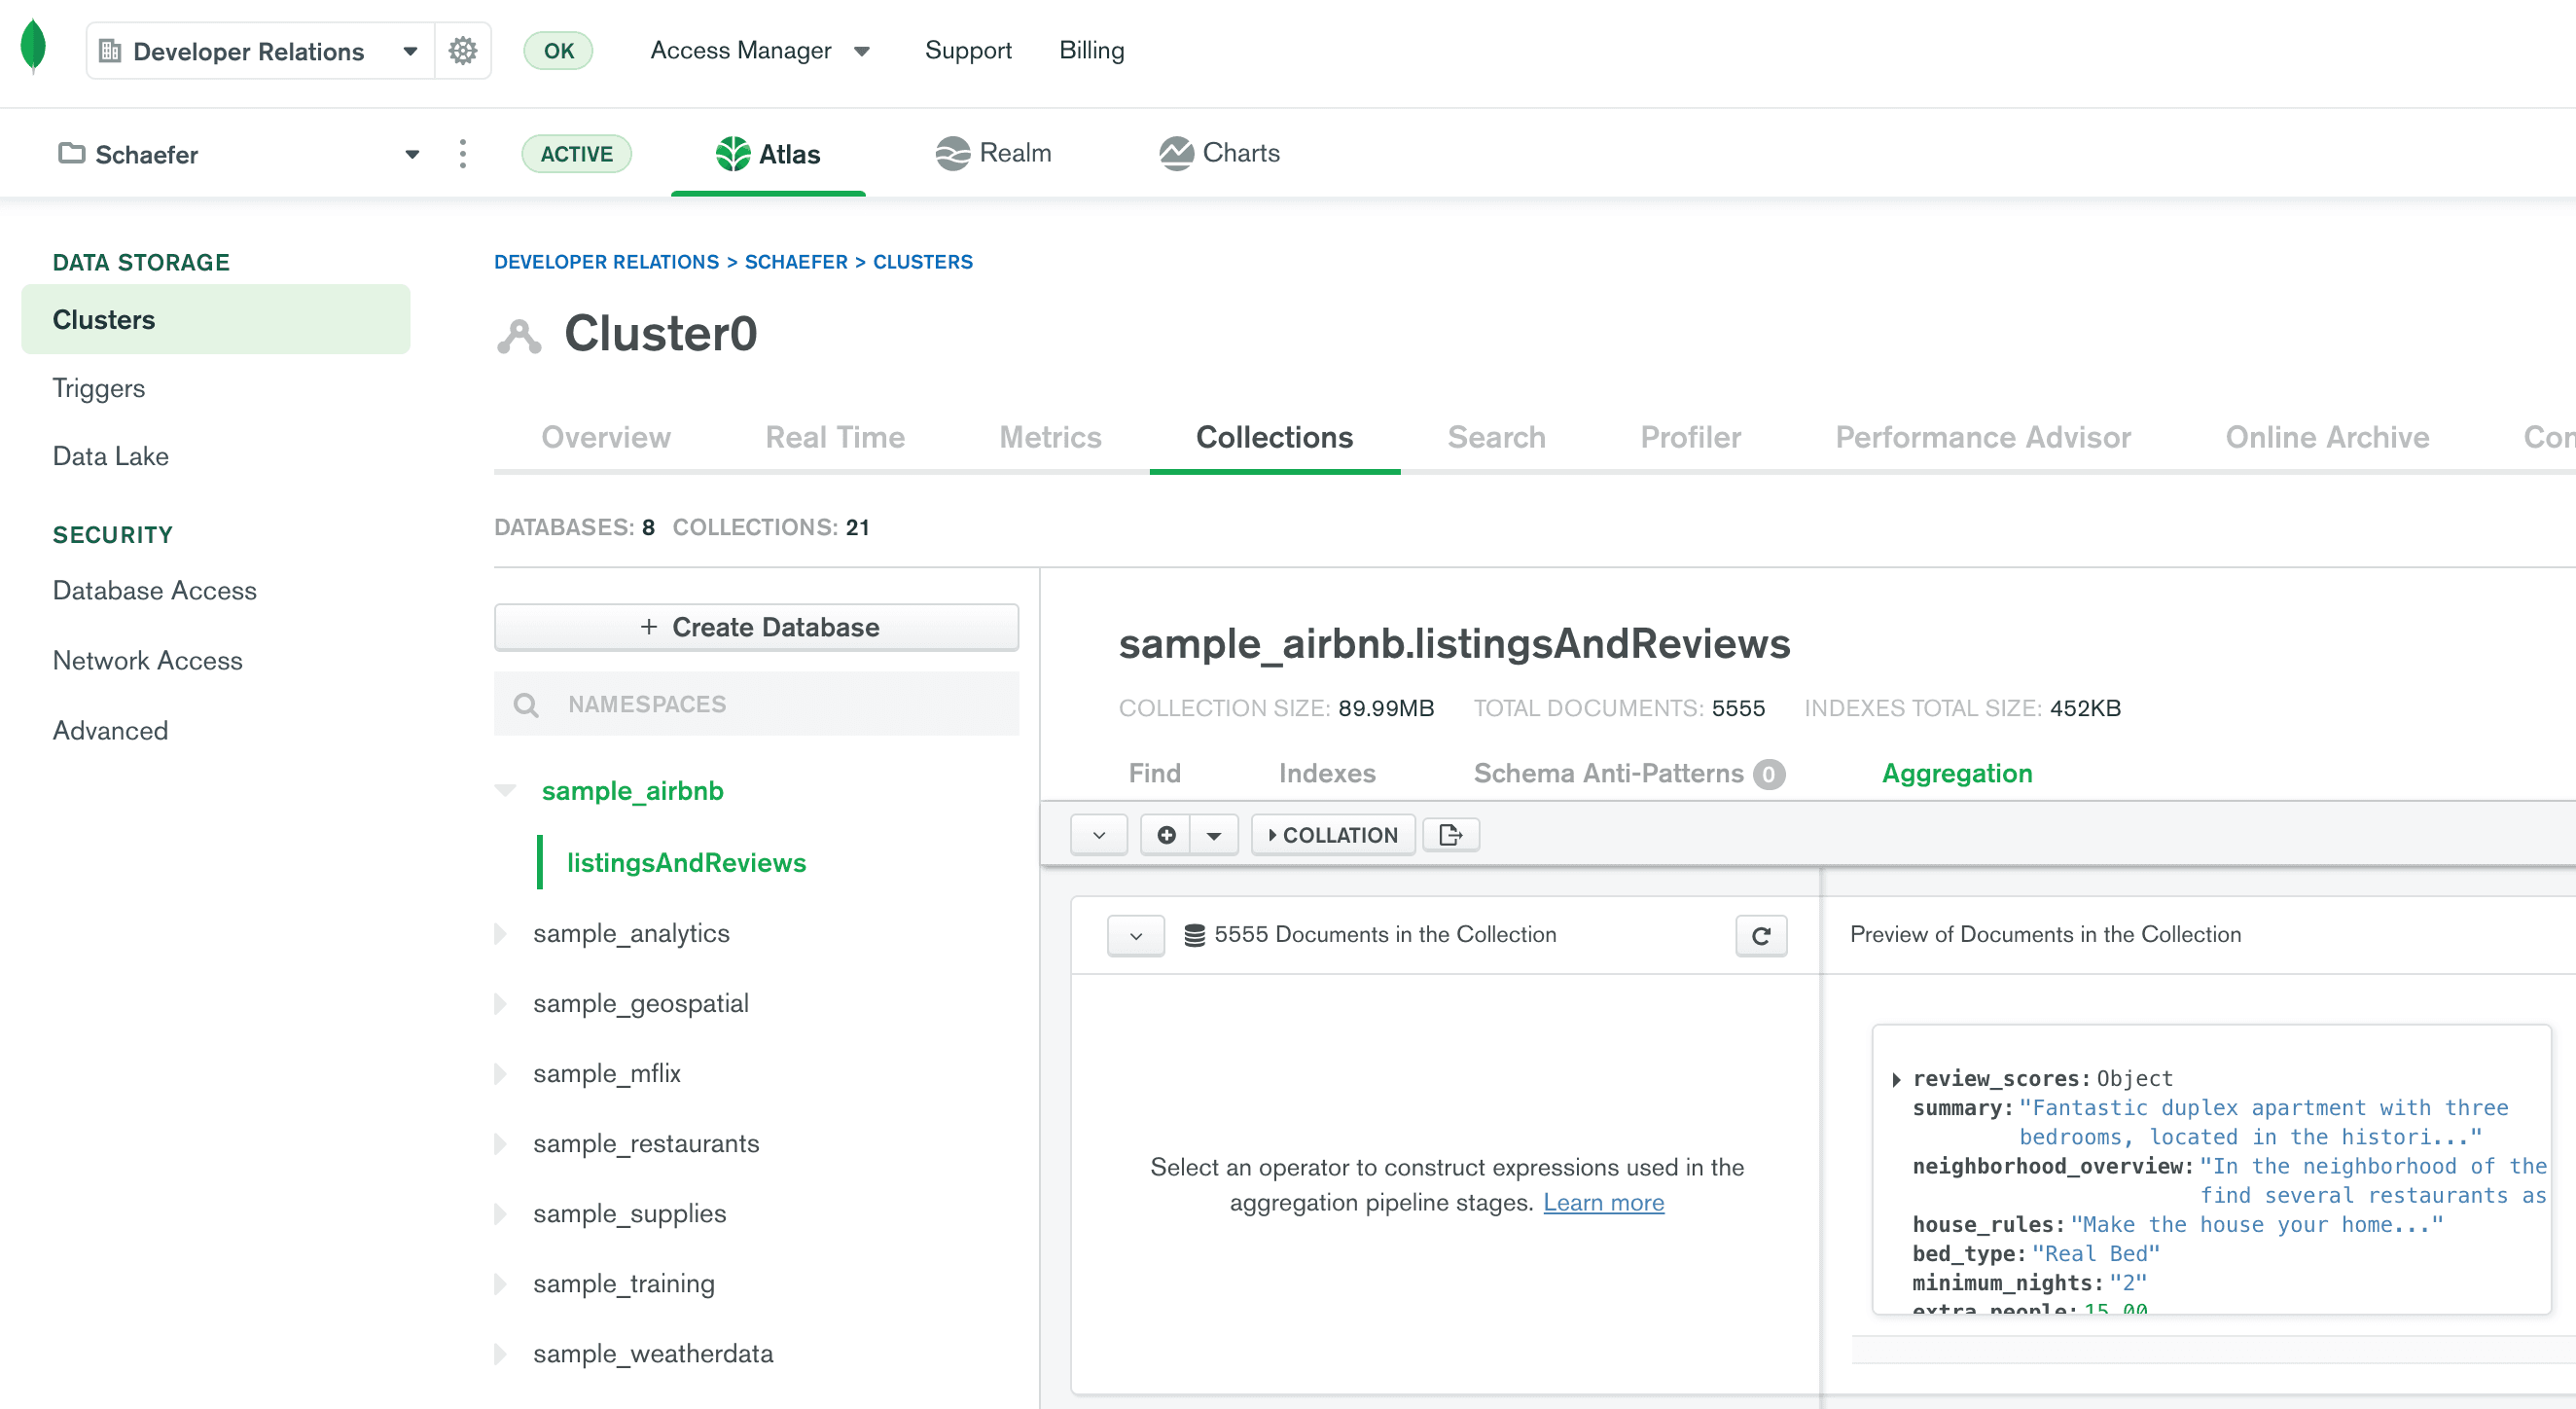
The Aggregation Pipeline Builder provides you with a visual representation of your aggregation pipeline. Each stage is represented by a new row. You can put the code for each stage on the left side of a row, and the Aggregation Pipeline Builder will automatically provide a live sample of results for that stage on the right side of the row.

Build an aggregation pipeline
Now we are ready to build an aggregation pipeline.
Add a $match stage
Add a $match stage
Let's begin by narrowing down the documents in our pipeline to one-bedroom listings in the Sydney, Australia market where the room type is "Entire home/apt." We can do so by using the $match stage.
On the row representing the first stage of the pipeline, choose $match in the Select... box. The Aggregation Pipeline Builder automatically provides sample code for how to use the $match operator in the code box for the stage.
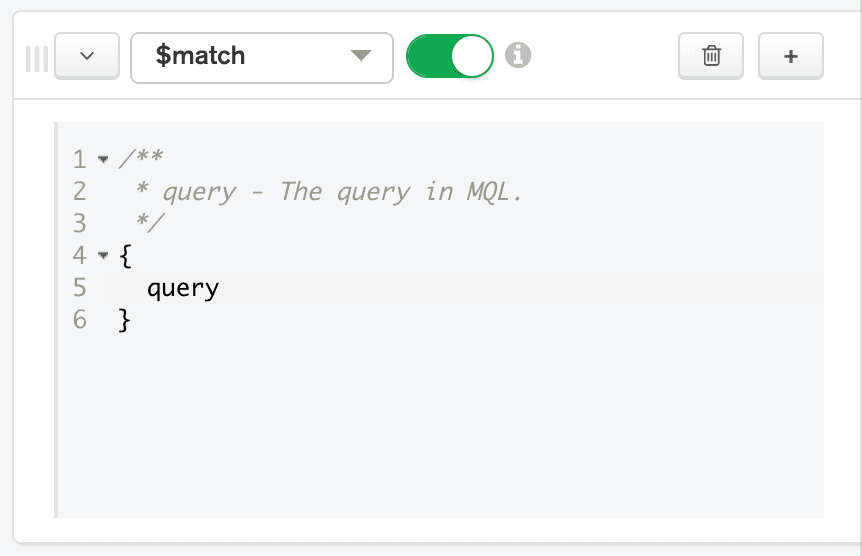
Now we can input a query in the code box. The query syntax for $match is the same as the findOne() syntax that we used in a previous post. Replace the code in the $match stage's code box with the following:
{
  bedrooms: 1,
  "address.country": "Australia",
  "address.market": "Sydney",
  "address.suburb": { $exists: 1, $ne: "" },
  room_type: "Entire home/apt"
}
Note that we will be using the address.suburb field later in the pipeline, so we are filtering out documents where address.suburb does not exist or is represented by an empty string.
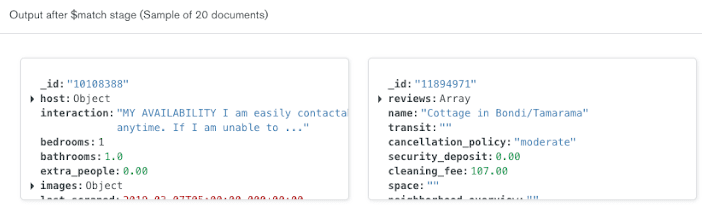
The Aggregation Pipeline Builder automatically updates the output on the right side of the row to show a sample of 20 documents that will be included in the results after the $match stage is executed.
Add a $group stage
Add a $group stage
Now that we have narrowed our documents down to one-bedroom listings in the Sydney, Australia market, we are ready to group them by suburb. We can do so by using the $group stage.
Click ADD STAGE. A new stage appears in the pipeline.
On the row representing the new stage of the pipeline, choose $group in the Select... box. The Aggregation Pipeline Builder automatically provides sample code for how to use the
$groupoperator in the code box for the stage.
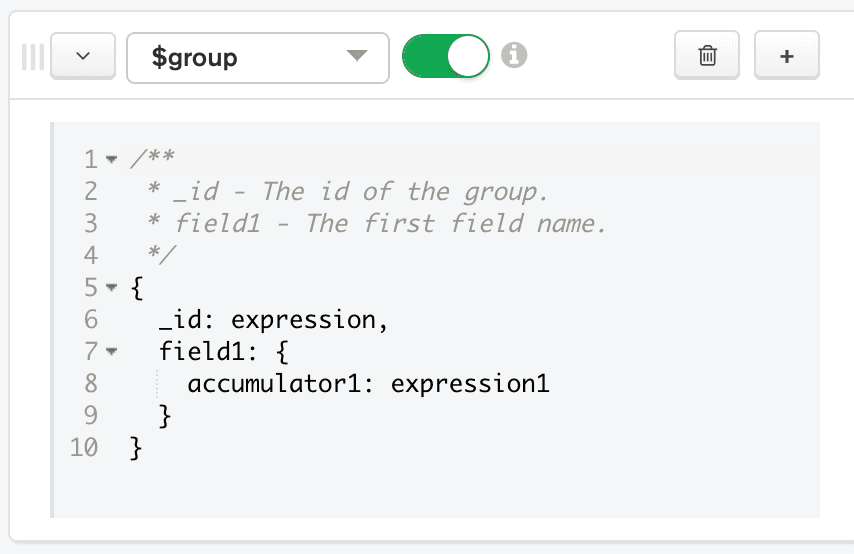
Now we can input code for the
$groupstage. We will provide an_id, which is the field that the Aggregation Framework will use to create our groups. In this case, we will use$address.suburbas our_id. Inside of the $group stage, we will also create a new field namedaveragePrice. We can use the $avg aggregation pipeline operator to calculate the average price for each suburb. Replace the code in the $group stage's code box with the following:
{
  _id: "$address.suburb",
  averagePrice: {
    "$avg": "$price"
  }
}
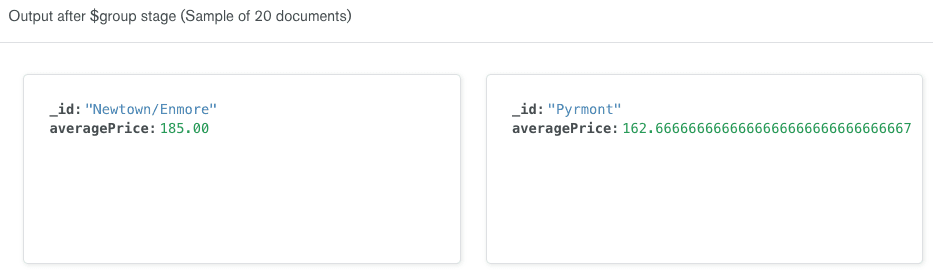
The Aggregation Pipeline Builder automatically updates the output on the right side of the row to show a sample of 20 documents that will be included in the results after the$groupstage is executed. Note that the documents have been transformed. Instead of having a document for each listing, we now have a document for each suburb. The suburb documents have only two fields:_id(the name of the suburb) andaveragePrice.
Add a $sort stage
Add a $sort stage
Now that we have the average prices for suburbs in the Sydney, Australia market, we are ready to sort them to discover which are the least expensive. We can do so by using the $sort stage.
Click ADD STAGE. A new stage appears in the pipeline.
On the row representing the new stage of the pipeline, choose $sort in the Select... box. The Aggregation Pipeline Builder automatically provides sample code for how to use the
$sortoperator in the code box for the stage.
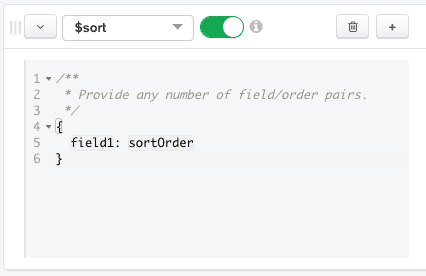
Now we are ready to input code for the
$sortstage. We will sort on the$averagePricefield we created in the previous stage. We will indicate we want to sort in ascending order by passing1. Replace the code in the$sortstage's code box with the following:
{
  "averagePrice": 1
}
The Aggregation Pipeline Builder automatically updates the output on the right side of the row to show a sample of 20 documents that will be included in the results after the$sortstage is executed. Note that the documents have the same shape as the documents in the previous stage; the documents are simply sorted from least to most expensive.

Add a $limit stage
Add a $limit stage
Now we have the average prices for suburbs in the Sydney, Australia market sorted from least to most expensive. We may not want to work with all of the suburb documents in our application. Instead, we may want to limit our results to the 10 least expensive suburbs. We can do so by using the $limit stage.
Click ADD STAGE. A new stage appears in the pipeline.
On the row representing the new stage of the pipeline, choose $limit in the Select... box. The Aggregation Pipeline Builder automatically provides sample code for how to use the
$limitoperator in the code box for the stage.
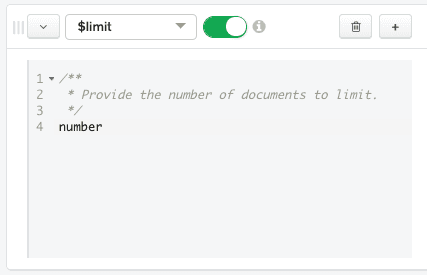
Now we are ready to input code for the
$limitstage. Let's limit our results to 10 documents. Replace the code in the $limit stage's code box with the following:
10
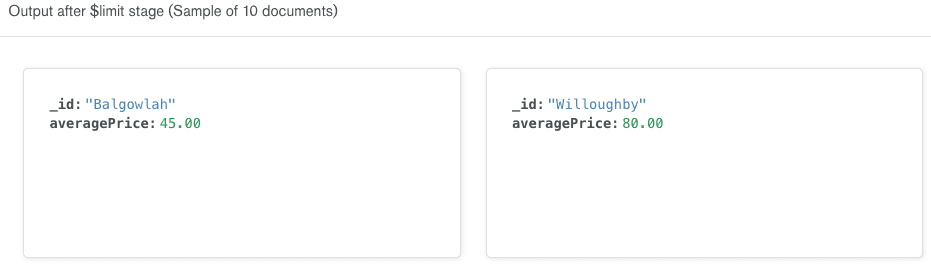
The Aggregation Pipeline Builder automatically updates the output on the right side of the row to show a sample of 10 documents that will be included in the results after the$limitstage is executed. Note that the documents have the same shape as the documents in the previous stage; we've simply limited the number of results to 10.
Execute an aggregation pipeline in Node.js
Now that we have built an aggregation pipeline, let's execute it from inside of a Node.js script.
Get a copy of the Node.js template
Get a copy of the Node.js template
To make following along with this blog post easier, I've created a starter template for a Node.js script that accesses an Atlas cluster.
Download a copy of template.js.
Open
template.jsin your favorite code editor.Update the Connection URI to point to your Atlas cluster. If you're not sure how to do that, refer back to the first post in this series.
Save the file as
aggregation.js.
You can run this file by executing node aggregation.js in your shell. At this point, the file simply opens and closes a connection to your Atlas cluster, so no output is expected. If you see DeprecationWarnings, you can ignore them for the purposes of this post.
Create a function
Create a function
Let's create a function whose job it is to print the cheapest suburbs for a given market.
Continuing to work in
aggregation.js, create an asynchronous function namedprintCheapestSuburbsthat accepts a connected MongoClient, a country, a market, and the maximum number of results to print as parameters.
async function printCheapestSuburbs(client, country, market, maxNumberToPrint) {
}
We can execute a pipeline in Node.js by calling Collection's aggregate(). Paste the following in your new function:
const pipeline = [];

const aggCursor = client.db("sample_airbnb")
                        .collection("listingsAndReviews")
                        .aggregate(pipeline);
The first param for
aggregate()is a pipeline of type object. We could manually create the pipeline here. Since we've already created a pipeline inside of Atlas, let's export the pipeline from there. Return to the Aggregation Pipeline Builder in Atlas. Click the Export pipeline code to language button.
The Export Pipeline To Language dialog appears. In the Export Pipleine To selection box, choose NODE.
In the Node pane on the right side of the dialog, click the copy button.
Return to your code editor and paste the
pipelinein place of the empty object currently assigned to the pipeline constant.
const pipeline = [
{
    '$match': {
    'bedrooms': 1,
    'address.country': 'Australia',
    'address.market': 'Sydney',
    'address.suburb': {
        '$exists': 1,
        '$ne': ''
    },
    'room_type': 'Entire home/apt'
    }
}, {
    '$group': {
    '_id': '$address.suburb',
    'averagePrice': {
        '$avg': '$price'
    }
    }
}, {
    '$sort': {
    'averagePrice': 1
    }
}, {
    '$limit': 10
}
];
This pipeline would work fine as written. However, it is hardcoded to search for 10 results in the Sydney, Australia market. We should update this pipeline to be more generic. Make the following replacements in the pipeline definition:
Replace
'Australia'withcountryReplace
'Sydney'withmarketReplace
10withmaxNumberToPrint
aggregate()will return an AggregationCursor, which we are storing in theaggCursorconstant. An AggregationCursor allows traversal over the aggregation pipeline results. We can use AggregationCursor's forEach() to iterate over the results. Paste the following insideprintCheapestSuburbs()below the definition ofaggCursor.
await aggCursor.forEach(airbnbListing => {
  console.log(`${airbnbListing._id}: ${airbnbListing.averagePrice}`);
});
Call the function
Call the function
Now we are ready to call our function to print the 10 cheapest suburbs in the Sydney, Australia market. Add the following call in the main() function beneath the comment that says Make the appropriate DB calls.
await printCheapestSuburbs(client, "Australia", "Sydney", 10);
Running aggregation.js results in the following output:
Balgowlah: 45.00
Willoughby: 80.00
Marrickville: 94.50
St Peters: 100.00
Redfern: 101.00
Cronulla: 109.00
Bellevue Hill: 109.50
Kingsgrove: 112.00
Coogee: 115.00
Neutral Bay: 119.00
Now I know what suburbs to begin searching as I prepare for my trip to Sydney, Australia.
More resources
The aggregation framework is an incredibly powerful way to analyze your data. Learning to create pipelines may seem a little intimidating at first, but it's worth the investment. The aggregation framework can get results to your end-users faster and save you from a lot of scripting.
Today, we only scratched the surface of the aggregation framework. We highly recommend MongoDB University's free course specifically on the aggregation framework: M121: The MongoDB Aggregation Framework. The course has a more thorough explanation of how the aggregation framework works and provides detail on how to use the various pipeline stages.
This post included many code snippets that built on code written in the first post of this MongoDB and Node.js Quick Start series. To get a full copy of the code used in today's post, visit the Node.js Quick Start GitHub Repo.
Questions? Comments? We'd love to connect with you. Join the conversation on the MongoDB Community Forums.